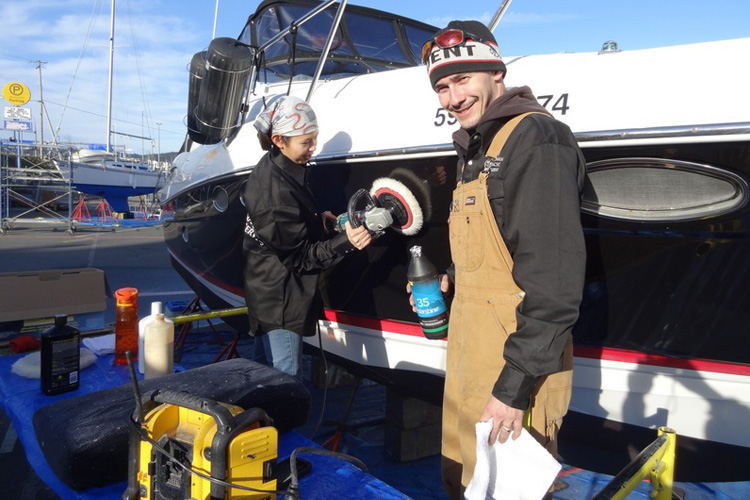
Can you repair your own inflatable?
 The simple answer is yes. The longer answer is of course, it all depends…
For a simple repair to a PVC or Hypalon RIB (Rigid Inflatable Boat), inflatable boat and SIB (Soft Inflatable Boat) tubes there are a range of kits you can buy.
Here are some useful guidelines:
Plan Your Repair
You’ll be using some products with strong chemicals so keep pets and children away and read the product labels carefully. Solvents and adhesives are known to produce fumes which must not be inhaled or exposed to skin, eyes or ingested plus the fumes are known to be highly flammable. If you are happy with the safety elements then you can start planning where you are going to do the work. There is a standard list of the best conditions:
- Lower than 60% humidity.
- Between 18ºC -25ºC.
- Dry. well-ventilated area that is away from glaring sunshine.
- Nowhere near to any naked flames.
Find Your Boat Manual
Before entering any chandlers you need to know what fabric your inflatable tube is made from because this will decide the type of adhesive, solvent and patch fabric you need. The most common fabrics used are Hypalon, PVC (polyvinyl chloride) and PU (polyurethane).
To identify the fabric:
- Have a look at your boat manual or have a look on the web and you will probably easily find the answer.
- Look at the back of the tube fabric (through the inflation valve or where the tear is). Hypalon is a dull, dark grey or black whereas PVC and PU is the same colour on both sides. Although be careful with this technique if your boat has had UV damage.
- Use a piece of sandpaper to rub the fabric in an inconspicuous area. If it is hypalon the fabric will go dull and produce some dust whereas PVC or PU will scratch but stay glossy.
If none of the above confirms the fabric then apply a small amount of MEK (also known as Butanone). If the fabric is PVC then the material will feel tacky, if it’s Hypalon it will just go dull, but it won’t feel tacky.
Collect Your Boat Repair Kit Together
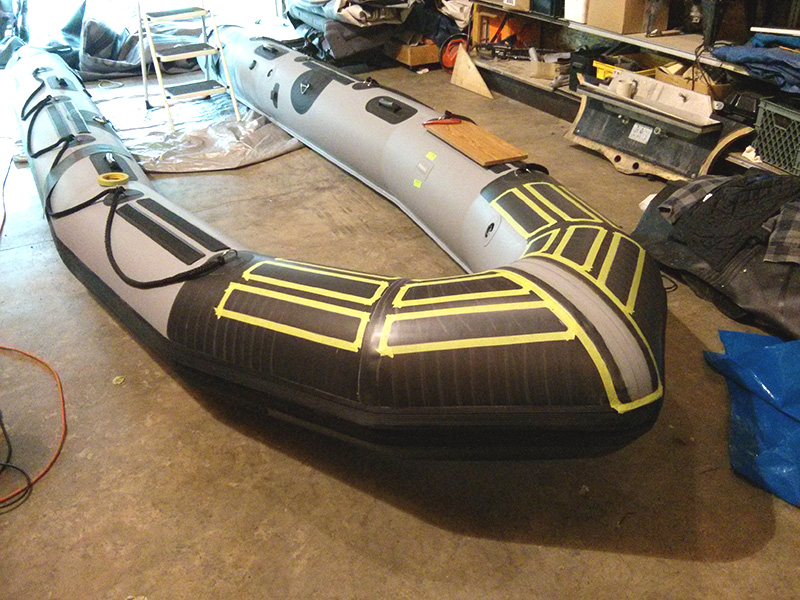
The boating industry informally seems to divide tube repairs into small tears which can be repaired with a single patch to the outside of the tube and larger tears (over 5 cm) which will need to be patched from both from the inside and outside of the tube.
- Reommended glue from your yacht chandlers.
- The correct fabric patch.
- Polythene for the inner patch (if required).
- Solvent/primer.
- Sandpaper.
- Mixing stick. e.g. lollipop stick.
- Lint-free cloth.
- Small, stiff paint or glue brush.
- Pencil.
- Masking tape.
- Something to remove air bubbles (e.g. handle of a hammer).
- A heavy weight to hold the patch down whilst it is drying.
You’re Ready to Go….
- Find where the leak is on the tube. If it’s not obvious then put soapy water on the inflated tube and find the leak by seeing where the bubbles are. Then simply mark the location, dry the area and deflate the tube.
- Cut out a fabric patch and round the corners. You will need a minimum of 5 cm in excess of the tear.
- Place the patch over the hole and mark around the patch on the tube with a pencil. If the tear is greater than 5cm then also cut out a matching piece of polythene.
- For Hypalon patches rub the back of the patch and the marked repair area with abrasive paper so there is a key for the adhesive. Make sure it is just a light rubbing over. Do NOT rub down PVC fabric.
- Clean the back of the patch and the repair area with a lint-free cloth and MEK solvent or acetone. The solvent must evaporate before continuing.
- Put masking tape around the repair area so any adhesive can be lifted from around the repair site. Allow a small margin for stretch for when the patch is applied.
- Prepare the adhesive as per the adhesive instructions. For tears over 5 cm then apply adhesive to the back of one of the patches and to the inner tube surface around the repair area. Leave it to dry for around 20 minutes and then apply a second coat and leave it to dry for just a few minutes. Put the polythene on the adhesive so that the patch can be rolled up with the glue sticking to itself.
- Put the rolled-up patch into the tube through the tear in the tube and unroll. Position over the tear and peel away the polythene to allow the glued areas to bond. Smooth the patch working from the centre of the patch outwards to smooth out any air bubbles.
- Using the brush applicator apply a thin coat of adhesive to the tube patch and the masked repair area. Leave to dry for at least 20 minutes and then apply a second coat leaving it to dry for a few minutes until tacky. Apply the patch carefully to the repair area.
- Firmly smooth down the patch to ensure no air bubbles.
- Carefully remove the masking tape and clean-off any excess adhesive with the MEK solvent. If you don’t remove it the glue will show as a nasty brown.
- Place a smooth sided heavy weight on the patch and leave for 24 hours before re-inflating the tubes. Always check the repair before re-launching the boat!
If you’re concerned about repairing your inflatable then come and talk to us. We’re happy to give advice or you can leave your inflatable with us and we can do the repair for you.